
Welcome to the Montana Snowboard Instruction For Beginners DIY
Montana Winters can be long if you don’t go outside and enjoy the outdoors. Snowboarding is just one of three* Winter sports you should master to be able to explore any part of Montana during any part of the year.
In this DIY you learn the two basic positions every snowboarder in the world uses to slide down the hill under control. We have used this method to teach raw beginners how to snowboard on their very first day.
There is a little preparation that needs to be done be for you tackle how to learn to snowboard.
#1.) THIS IS THE MOST IMPORTANT ITEM – Leave your EGO at home. We guarantee you will fall on your first days. Enjoy it!
#2.) Wear something to keep the snow and slush off you. You need a water proof jacket and some kind of water proof pants.
#3.) Wear some kind of brain bucket.
#4.) Bring a change of clothing and a water bottle because you WILL soak your ski equipment with sweat.
#5.) If you had to knock open a door with your body, what shoulder would you use most of the time?
If you answered Left Shoulder = “Normal” binding set-up. The Left foot is the first to slide downhill.
If you answered Right Shoulder = “Goofy Foot” binding set-up. The Right foot is the first to slide downhill.
*The other two sports are Downhill Skiing and Cross Country Skiing.
Nothing beats sliding down the hill in control. It doesn’t matter if your riding a Snowboard, “Three-Pin,” Downhill skis or even a sled.
Follow along to learn the two universal snowboard “positions” you will use forever. Then we’ll look at the basic four snowboard turns so you can ride down any hill in control.
Each turn carves a “letter” in the snow. The four “letters” carved in the snow represent the “Snowboard Alphabet.” We’ll review the turns, then see them in action… Ready?
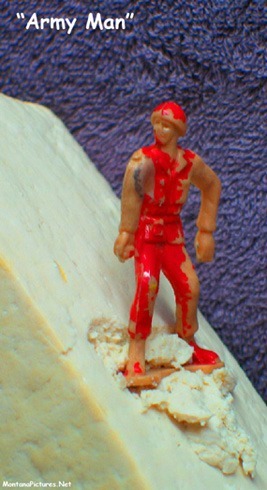
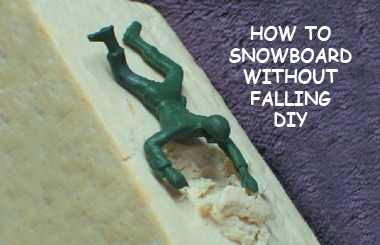
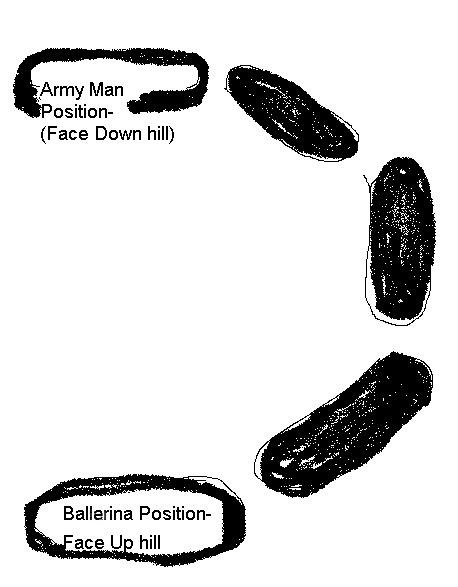
“Universal” snowboard position number one: “Army Man”
Look at how the “Army Man” in the picture on the left is pushing snow down hill. When you put all your weight on your heels and your toes are pointed towards the sky we call this position the: “Army Man”
Pressing the UP-Hill edge into the snow effectively converts your board into a “Bulldozer.” You are pushing snow down hill creating a small plateau in the snow.
With the UP-Hill edge pressed into the snow you can control how fast you slide down the hill. You can come to a complete stop or in the event of a “PANIC ATTACK” you can gracefully fall UP-Hill and land on your rear end.
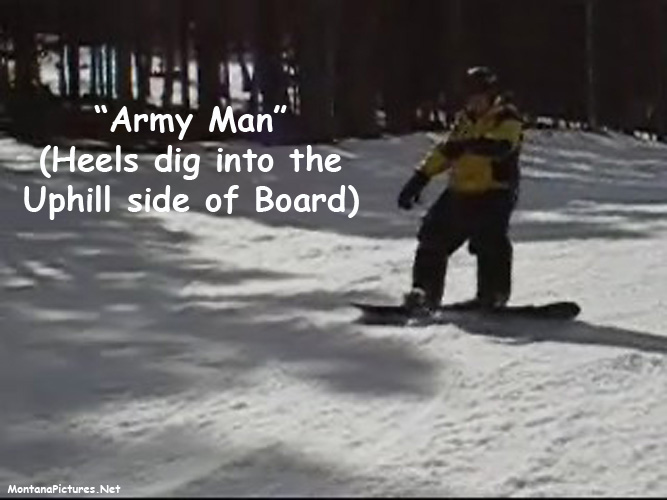
In a pinch, the “Army Man” position can be used to safely get down a “black diamond” ski run. Of course, “Army Man” is no fool, he is wearing a helmet and so should you.
On the left is a picture of a boarder coming to a stop using the “Army Man” position.
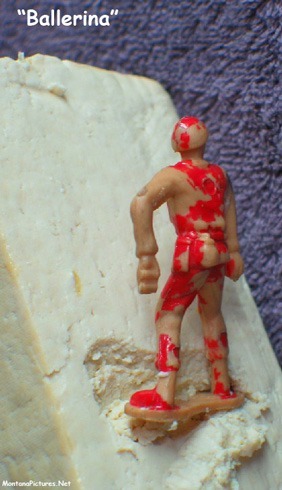
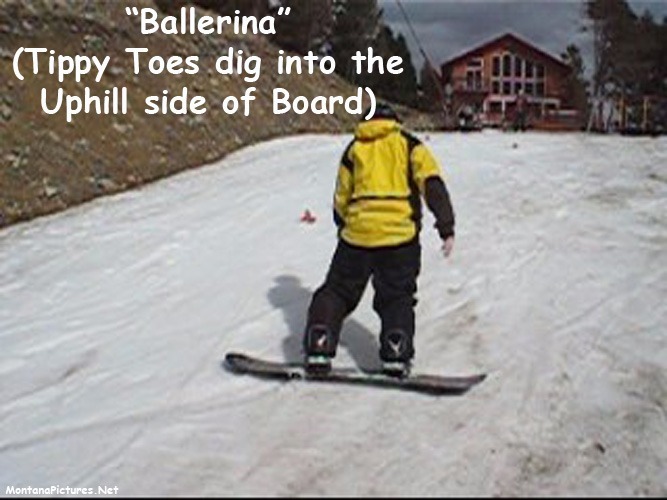
“Universal” snowboard position number two: “Ballerina”
All your weight is on your “tippy” toes like a “ballerina” and your heels are pointed towards the sky.
When we first started snowboarding we loved the “Ballerina” position. If we had to fall or stop, it seemed like we only had to drop a short distance to our knees. Dropping on your rear end out of the “Army Man” position means landing on what ever is below you,sight unseen. When the snow is scarce, that could mean a rock or tree root.
Remember, no matter what position you choose commit yourself. If you decide to slide in the “Army Man” position, press your heels hard, on the UP-Hill edge of your board.
If you decide to slide in the “Ballerina” position, press your toes hard, on the UP-Hill edge of your board. If you don’t maintain your weight over your toes or heels you open the possibility that the DOWN-Hill edge will dig into the snow and YOU WILL FALL.
On the right is a picture of a boarder coming to a stop using the “Ballerina” position.
Learn the “Snowboard Alphabet” on MontanaPictures.Net
How about some good news… you only have determine what position feels the best for you. You do not have be proficient at doing both “Army Man” and “Ballerina.” One favorite position is all you need to graduate to the next step in the course.
Next, we will look at the basic four snowboard turns so you can ride down any hill in control. Each turn carves a “letter” in the snow. The four “letters” carved in the snow represent the “Snowboard Alphabet.”
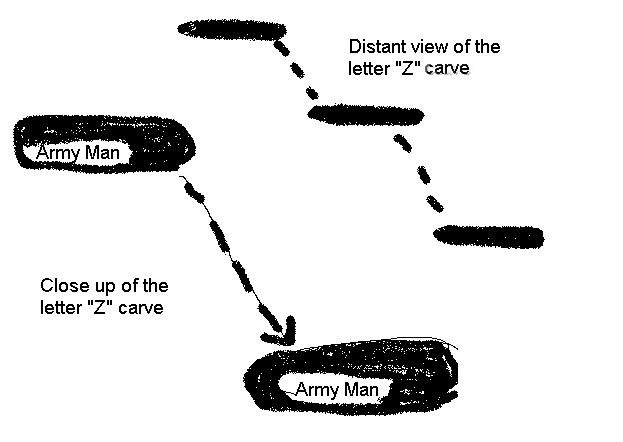
The Most Basic Snowboard Letter,
is the Letter “Z” Turn or in this case “Slide.”
Stand in “Army Man” position. Place your weight on your left foot. Slowly slide diagonally to the “Fall line.”
Come to a complete stop by pressing your heels on the UP-Hill edge of your board.
Catch your breath and pat yourself on the back for completing your very first snowboard turn.
What happens if you fall – How do you get back up?
#1.) Lay on your back parallel to the “Fall Line.” Point your head up hill & your board down hill, parallel to the “Fall Line.”
#2.) Now, “Flip” your board over until you are face down in the snow. You just did the “hard part” so let’s stand up. (Hint: If the slope is really steep, dig out a little ledge or plateau in the snow with the “toe-side” of the board. This will give you a flat “platform” to stand up on.)
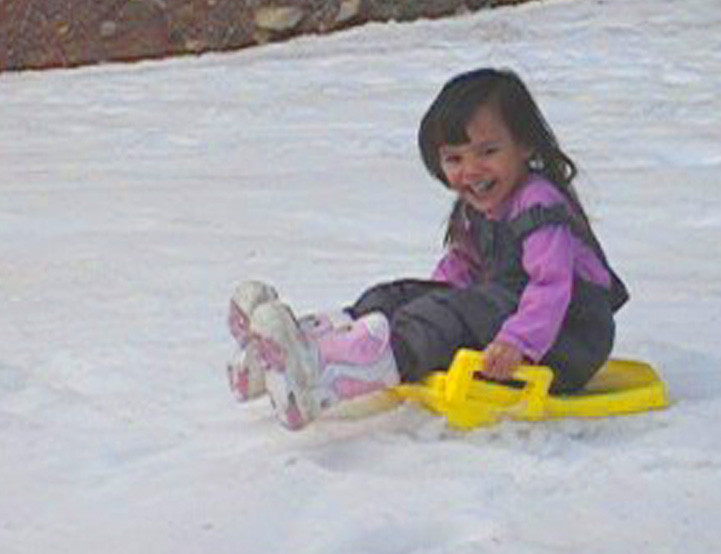
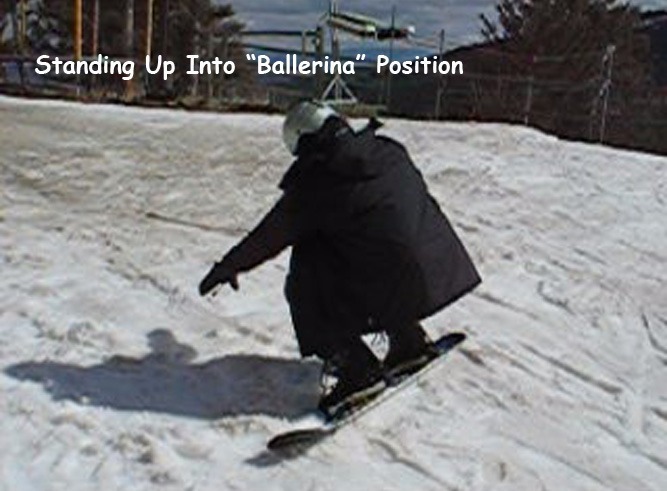
#3.) Gather your legs under your torso until you are in a squatting position. (Pictured on the right)
#4.) From the squatting position, PUSH your self up using your arms & legs. In Gym class, this exercise was called a “Squat thrust” or “Burpee.” During the typical first three days of beginning snowboarding you will perform this exercise over fifty or more times.
#5.) Stand up in the “Ballerina” position.
You are now ready to tackle the rest of the
“Snowboard Alphabet: The “C, J, and S Turns”
The next basic Snowboard “Turn” is the Letter “C” Turn
Starting in the “Ballerina” position, you will force your board to change position from perpendicular to the “Fall Line” to straight down the “Fall Line” then back to perpendicular to the “Fall Line,” Once your board is back to perpendicular to the “Fall Line” you will be facing down-hill in the “Army Man” position.
How do you force/turn your board? You ask.
Let’s pretend we are putting out a fire. Take off your board and stand with your shoulders parallel to “Fall Line.” Next, take off your helmet and pretend it is full of water. Now, while standing parallel to the “Fall Line,” throw the imaginary water down-hill as far as you can. What happens?
Throwing your arms and twisting your torso creates a momentum that forces your up-hill leg to move from parallel to the “Fall line” to perpendicular. You “pivot” on your down-hill leg dragging your up-hill foot behind you.
Use this “Water in the Helmet” method today and you will notice that as time goes by, your turn will become very subtle. For now, go ahead and really throw your arms around and twist that torso.
The next basic Snowboard “Turn” is the Letter “J” Turn
a.k.a. “The Wee Turn” because it is so much fun!
Hurray! the next basic snowboard “turn” is the Letter “J” Turn!
It’s called the “WEE Turn” because beginners can be heard yelling “WEE!” as they fly down the hill. Here is where snowboarding really starts to be “FUN.” This turn will elevate your adrenaline level.
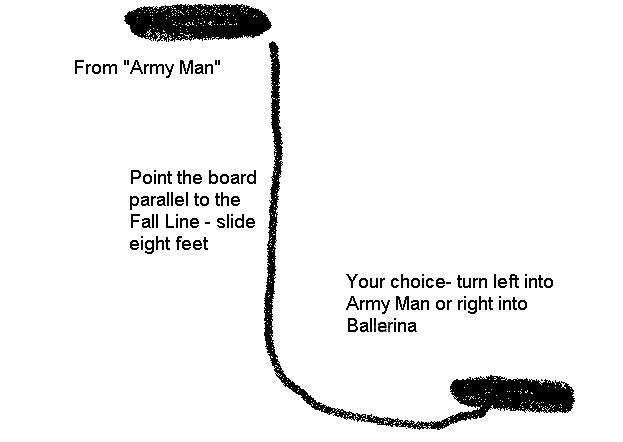
Starting in the “Army Man” position, you will force your board to change position from perpendicular to the “Fall Line” to straight down the “Fall Line.”
Now Slide, Slide, Slide until you decide when the speed is beginning to scare you. On your first three days slide only eight to ten feet. Now stop yourself by using the “C” Turn. Come to a stop and celebrate!
Here is something to think about… If you can complete a “J” Turn with only one foot in the binding then you are ready to ride the Beginners Chairlift. Yippee!
Learn the last Letter of the “Snowboard Alphabet” on MontanaPictures.Net
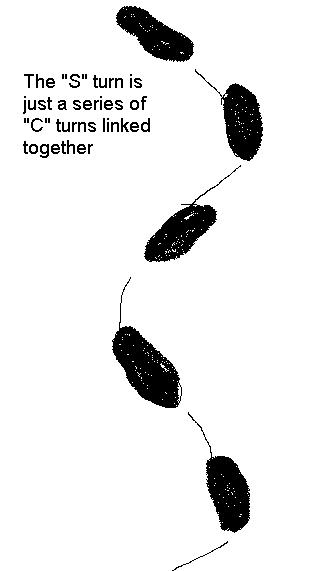
You are now ready to tackle the last of the “Snowboard Alphabet:” The letter “S”
The last & best snowboard “turn” is the Letter “S” turn. Why? because after a day or two of “J” turns, you begin to feel the urge to link the turns together. Even though the carve lasts a mere second or two the UP-Hill edge of our board is always in contact with the snow except for the split-second of switching from the “Army Man” position to the “Ballerina” position.
One final word. While learning to snowboard avoid the rope tow. You will be wearing the worlds’ most comfortable snow boots so utilize them and walk up the hill the first dozen trips up. The rope tow forces you to put all your weight on your back leg which is the exact opposite of what you are trying to master on the slopes. Remember, if you want to fall put your weight on your up-hill leg. We’ll see you on the ski hill!
Grab your Snowboard graduation “Cap & Gown!” We’re heading for the Chairlift!

Recent Comments